
Use of the hosting service viflow cloud for your web model
Applies to: viflow (supscription | 10 | 9 | 8 | 7) | Article: 1342750 | Updated on 09.07.2026
Saving the configuration files
With the order confirmation you will receive two files and the address for calling up the WebModel in the cloud:
- Address for Cloud access: https://webmodel.viflow.cloud/YOURCUSTOMERNUMBER/
- credentials.json
- upload.js
Copy the credentials.json and upload.js files to the WebModel target directory. The directory should be local to your PC (recommended) and empty (e.g. C:\Desktop\YourName\viflow\WebModel).
Setting for WinSCP
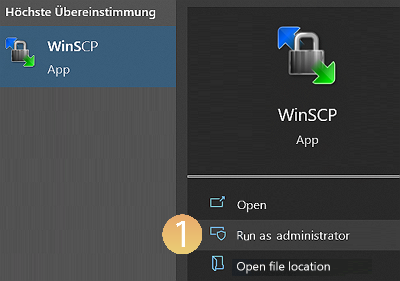
- Open the WinSCP program as administrator {{1}}.
 When you use the program for the first time, the Login window opens.
Note: If no login window appears, click on Settings – Settings – Integration in the menu. - Click Tools {{2}} – Preferences…{{3}}.
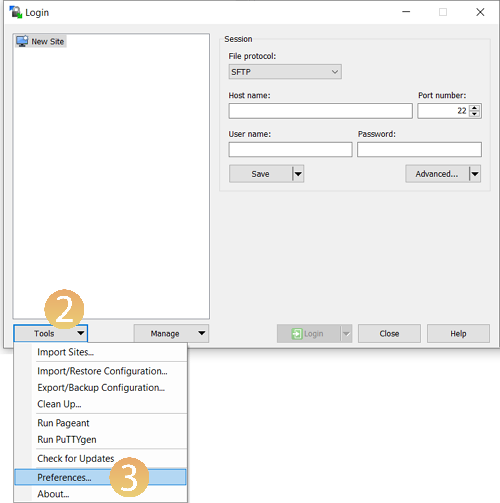
- In the Preferences window, click on Integration and select Add WinSCP to search path {{4}}.
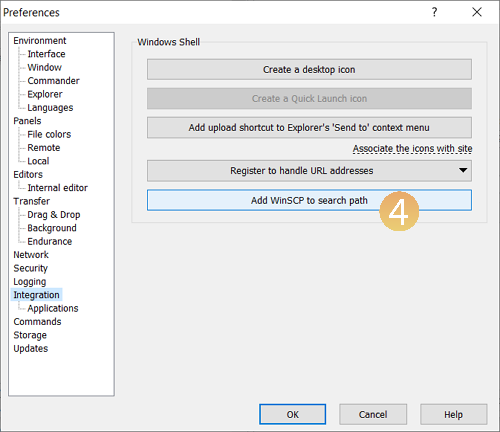
- Then exit WinSCP.
Integration of the upload.js file in viflow
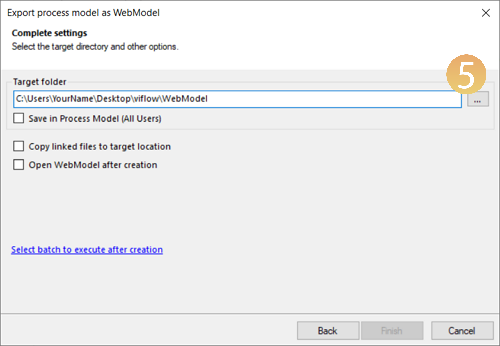
- Start the export process in the viflow menu under File – Export entire process model – WebModel and carry out all the steps until the Complete settings window appears.
- First select the target directory of the WebModel in which you have inserted the upload.js and credentials.json files (see Saving the configuration files above). To do this, click on the […] {{5}} button.
- At the bottom of this window, click Select batch to execute after creation.

- Click the {{6}} […] button and select the upload.js file located in the WebModel target directory.
Example: C\Users\YourName\Desktop\viflow\WebModel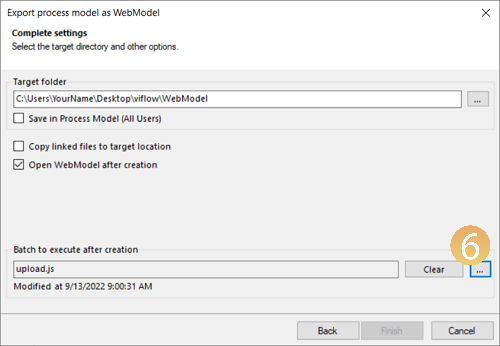
- Start the export by clicking on Finish.
- Now call up the link in the browser that you received in the delivery e-mail:
https://webmodel.viflow.cloud/YOURCUSTOMER NUMBER/ - Enter user name and password (see delivery e-mail) and confirm with ENTER.
Manual upload of WebModel files with WinSCP
Proceed as follows:
- Start the WinSCP program (download link: see above in this article).
Enter the user name and password {{1}} (see delivery e-mail) and confirm with ENTER.
 The program view opens.
 - You will see the root {{2}} directory of the web server on the right and your files or file system on the left.
 Click on the header in the left-hand area {{3}} and select the WebModel directory in the window that opens {{4}}.

- Select all files in the WebModel directory – ATTENTION! With the exception of the appsettings.json file {{5}} – and drag them into the root directory {{6}} on the right-hand side.
 The upload of the files begins.
 - A message {{7}} may appear before the upload, which you must confirm with OK.


- The WebModel has been manually uploaded to the server and can now be accessed with the address https://webmodel.viflow.cloud/YOURCUSTOMERNUMBER/ {{8}}.
 The access data (www access) {{9}} can be found in the delivery e-mail.
Updating the WebModel manually
- To remove the files from the server, the app_offline.htm file must be inserted there.
 To do this, click on New –File {{10}} on the right-hand side (root directory) (or alternatively from the context menu) and name the new file app_offline.htm {{11}} and confirm with OK.
- Now select all files in the root directory – ATTENTION! With the exception of the appsettings.json and app_offline.htm {{12}} files – and delete them with DEL.

- Now delete the app_offline.htm file from the root directory.
To upload an updated/new WebModel, proceed as described above under Manual upload.