
Download, install and activate viflow
Applies to: viflow (subscription | 9 | 8 ) | Article: 1804732 | Updated on 18.06.2024
This article describes the standard procedure for installing viflow. There are other articles in our knowledge database on special topics related to installing and activating viflow. You can find the links to them in the individual sections below.
Download the installation file
You will receive the download link for the viflow installation file directly from our sales team - either after purchasing licenses or after requesting a trial version.
Clicking on the corresponding link starts the download of the installation file directly.
Install viflow
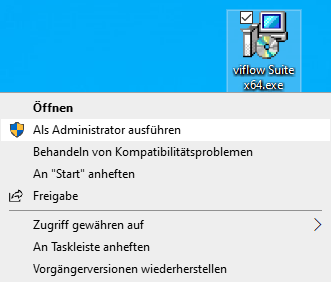
- Run the downloaded installation file, here: viflow Suite x64.exe, as administrator by right-clicking on the file and choosing Run as Administrator.
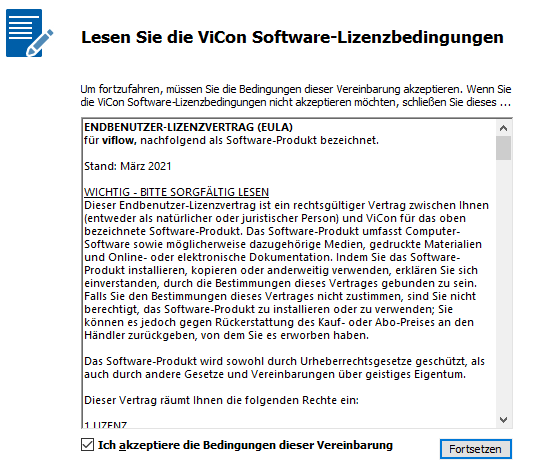
- Read and accept the license terms and click Continue.
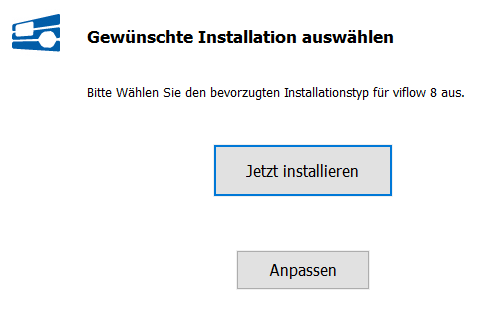
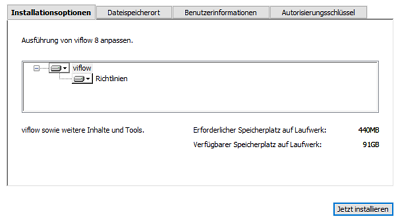
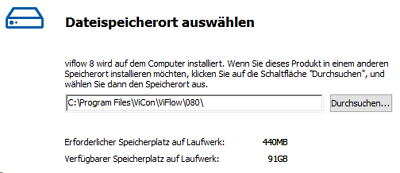
- Start the standard installation (recommended) by clicking the Install Now button.
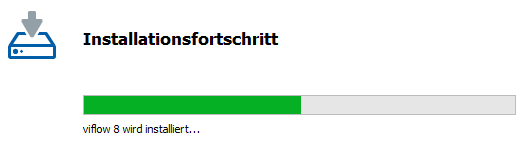
- viflow is installed.
 After successful installation, a corresponding message appears, confirm with Finish.
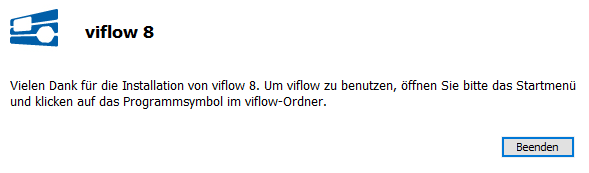 viflow can now be started and activated via the Windows start menu.
Activation of the license(s)
- Before activation, log in with your Windows login name .
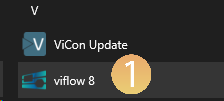
- Start viflow via the Windows start menu {{1}}.
 viflow initially starts as a test version - you now have 30 days to carry out the following activation steps.
 - On the File menu, click Help {{2}}.
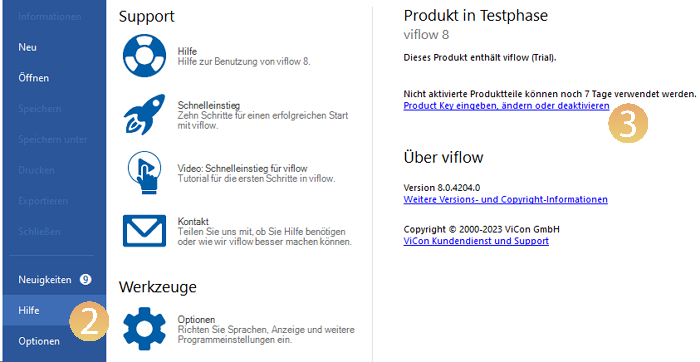 In the area on the right you will find all information about the installed viflow - with version number and copyright information.
 - Now click Enter, change, or deactivate product key {{3}}.
- Enter the product key that you can find on the viflow license sheet.
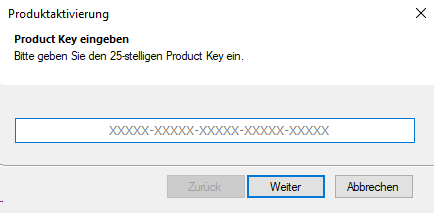 Click Next.
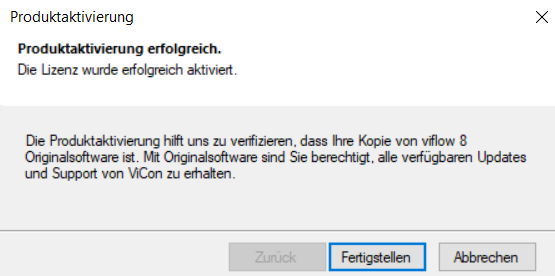
 - Confirm the Product activation successful message by clicking on Finish.
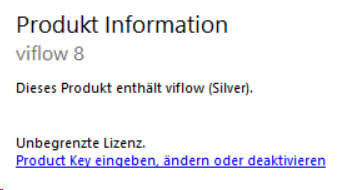
- Then check in the File menu under Product information whether the activated license corresponds to the product key you entered, in this example viflow silver.
 Click Next and first enter the new product key and then check whether the activation was successful.
Deactivating license(s)
If you need the viflow license for another user and/or you want to install it on a new PC or server, you can undo the activation and release the license again:
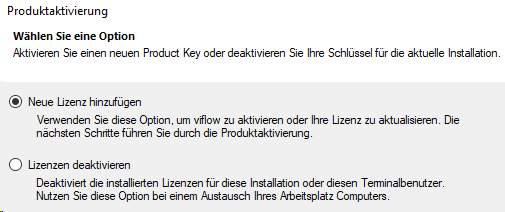
- On the File menu, click Help on Enter, change, or deactivate a product key.
- Check the Deactivate Licenses option and click Next.
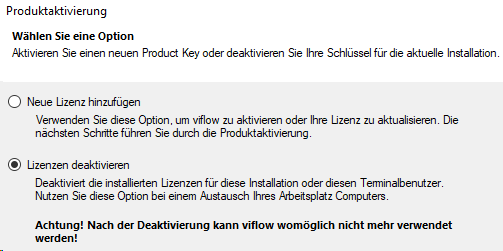
- Confirm the warning that this viflow license can no longer be used until it is activated again with Yes.

- The license has been deactivated and can now be activated again – for another user or on another PC/server.
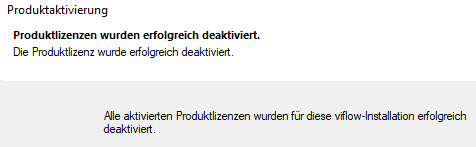 Click Finish.