viflow logoknowledge base

Contact Us

Menu
en de
  • viflow product page
  • Support request

Contact Us

  • viflow knowledge base
  • viflow – help
  • Quick Start – viflow in 10 steps
  • Step 8: Link files and insert hyperlinks
Quick Start – viflow in 10 steps

Step 8: Link files and insert hyperlinks

Applies to: viflow (subscription | 9 | 8) | Article: 1556215 | Updated on 26.04.2024

Delete

››› You can see the introduction or "quick start in 10 steps" here in a video (approx. 15 minutes).

viflow information and processes can be linked to files (e.g. work instructions in PDF or Word format) – alternatively, hyperlinks can also be entered on websites.

1. How to link information to a file

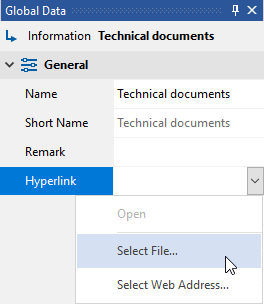
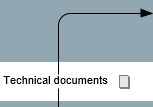
  • Right-click on the (information) arrow in the graphic and select Properties
  • Click on button in the Hyperlink box and click Select File...
  • Select the file to be linked and confirm with Open

Delete

Information that contains a hyperlink or is associated with files is displayed in the Information window with a hyperlink icon  marked.

Delete

Information with a hyperlink as well as processes and areas to which such information has been assigned are given a "document symbol" in the process graphic (in viflow and in the WebModel).  .

However, the information can also be assigned to the individual process (steps):

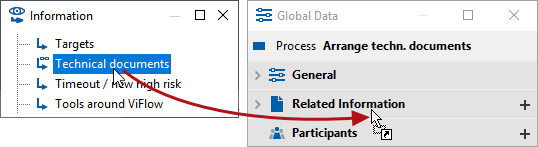
2. How to associate information with a process

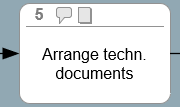
  • Right click on the process/branch symbol in the graphic and select Properties
  • In the Information tab of the properties window, click the plus symbol [  ]
  • Now select the information to add to the process
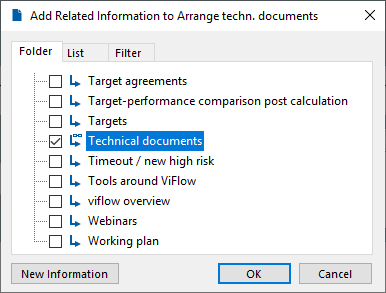
  • Click OK
Delete

Tip: You can also view objects directly from the Inspector window in the Information tab of the process properties window to assign it to the process.

If you drag the information to the Distribution tab in the area properties window, it will be assigned to the area.


All articles in Quick Start – viflow in 10 steps

  • Step 1: Before the first start
  • Step 2: Create a new Process Model
  • Step 3: Create and open processes
  • Step 4: The program interface
  • Step 5: Model areas
  • Step 6: Model processes
  • Step 7: Model information
  • Step 8: Link files and insert hyperlinks
  • Step 9: Create sub-processes
  • Step 10: Export as WebModel
  • Important functions and settings
Quicklinks
  • viflow international
  • viflow functions
  • Trainings
  • viflow life cycle
  • viflow system requirements
  • Remote support
  • viflow updates
SUBMIT SUPPORT REQUEST

Couldn't find a solution? Make a support request.

Submit a support request


FOLLOW US

We inform you regularly about current developments, trends and news around viflow. Just choose the format that's right for you.

Newsletter subscription
vilfow auf facebook ViCon auf Xing ViCon auf Linkedin vilfow auf youtube
Contact Central office

+49 511 696048-0

Sales

+49 511 696048-20

Support support@viflow.de
  • Contact
  • T&Cs
  • Conditions of Use
  • Privacy Statement
  • Legal Info

Copyright © 2003 – 2025 ViCon GmbH | viflow knowledge base | All rights reserved.

info@vicon.biz +49 511 696048-0
Knowledge Base Software powered by Helpjuice

Definition by Author

0
0
  • Kontakt
  • AGB
  • Nutzungsbedingungen
  • Datenschutz
  • Impressum

Copyright © 2003 – 2021 ViCon GmbH | Funktionen | Alle Rechte vorbehalten.

info@vicon.biz +49 511 696048-0
Expand