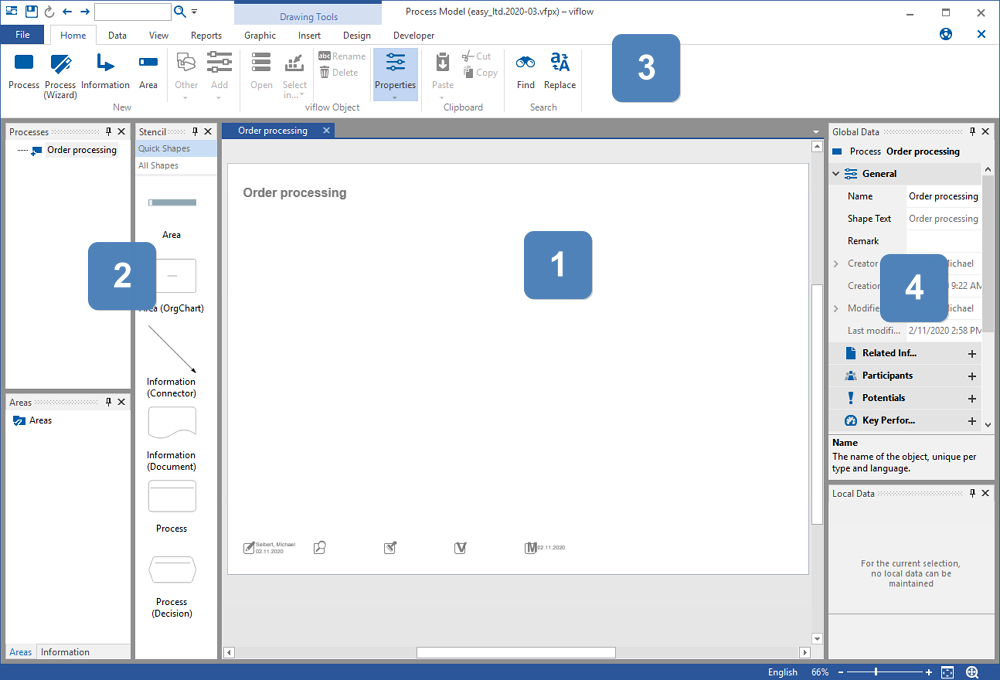
This view appears after creating a new process model (*.vfpx) containing a newly created process. This process appears in the Process Structure window (viflow 8: Processes window) and as a – still empty – process graphic in the right area of the program interface.
-
The viflow main or graphics window
For modeling and viewing the process graphics
-
The viflow window
For navigating and editing processes, information, areas (and other objects)
DeleteIn the standard layout (View – Layout – Standard) the main viflow objects are displayed here – process structure, information and areas.
-
The viflow ribbon
For all important viflow (and Visio) functions
-
The properties window
For entering, editing and viewing the properties of the individual viflow objects
Delete
A distinction is made between global and local properties for processes, information and areas. Global properties apply to the object throughout the process model. Local properties apply to the object only in the graphic in which it is used.
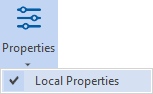
Both property windows – [global] and [local] – are opened when in the context menu .png) Properties of a graphic object are clicked. The Properties button in the Home and View tabs are for opening the properties window [local] by clicking on
Properties of a graphic object are clicked. The Properties button in the Home and View tabs are for opening the properties window [local] by clicking on  expandable.
DeleteRight-clicking on the viflow object (in the window or in the graphic) and calling properties in the context menu [ .png) ] is the easiest way to open the properties window. Also in the Home and View tabs are buttons
] is the easiest way to open the properties window. Also in the Home and View tabs are buttons  for the properties (global and local).
DeleteIf several objects are to be changed one after the other, the properties window can remain open: simply mark the next object to display its properties. The previously made changes are saved automatically.
