"Distribution" tab
Applies to: viflow (subscription | 9 | 8) | Article: 1575294 | Updated on 30.04.2024
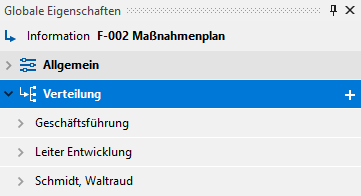
Here you can specify to which areas this information is distributed.
Assigning areas to a distribution list
- Click the add icon [
.png) ] in the title bar of the Distribution tab.
] in the title bar of the Distribution tab.
The Add areas to … window opens. - In the window you can choose between an alphabetical list view and a folder view (default).
In the Folders view, the areas are sorted according to folders or area types.
Mark the areas that are to be assigned to the information. If you want to map an area that does not yet exist in the process model, click on New area and enter a name.
Confirm your entry with OK. The window will close. - In the Properties window, an arrow icon [
.png) ] indicates that there are mapped ranges.
] indicates that there are mapped ranges. Click the arrow or double-click the Distribution tab title to view the contents.
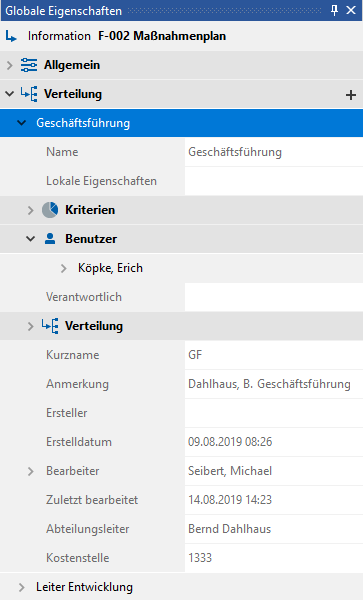
 The assigned areas are listed, for details click on the arrow [
 .png) ] before or double on the area name.
] before or double on the area name. Here you can see all the properties of the area. Criteria and Users assigned to the area (not the information!) can be selected by clicking on the arrow buttons [
 .png) ] can be viewed and edited.
] can be viewed and edited.
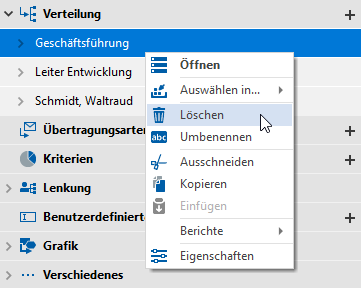
Deleting assignments
Right-click the area and select Delete from the context menu.
