
Export as WebModel
Applies to: viflow 8 | Article: 1589114 | Updated on 21.08.2024
You can publish the complete content of your process model conveniently and in detail as a WebModel or HTML output. The WebModel can be viewed with a standard Internet browser (Internet Explorer, Firefox, Chrome, etc.) – a special viewing program is not required.
You can publish your complete process model, including all detailed information and linked documents, company-wide on the intranet, the internet or on a server.
Export Process Model as WebModel (HTML output)
- Click File – Export – Whole Process Model.
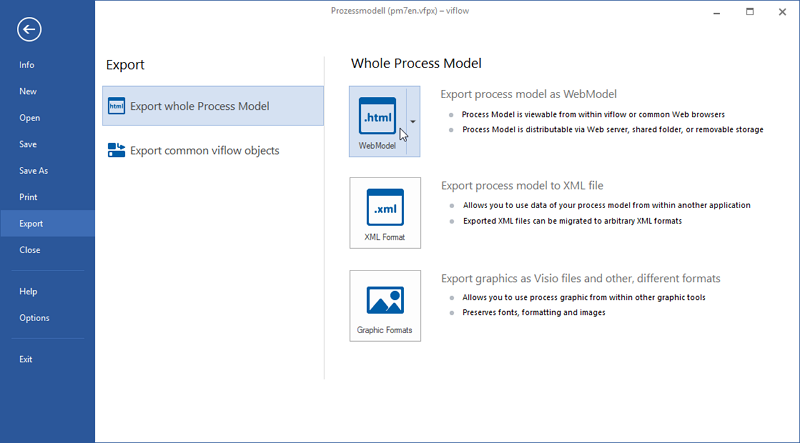
- In the right pane, click the WebModel button.
 The Export Process Model as WebModel window opens.
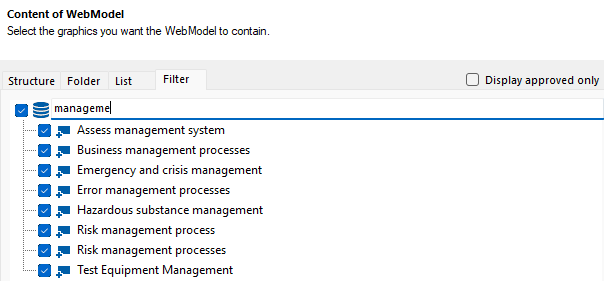
 - Under Content of WebModel, first select the graphics to be published.
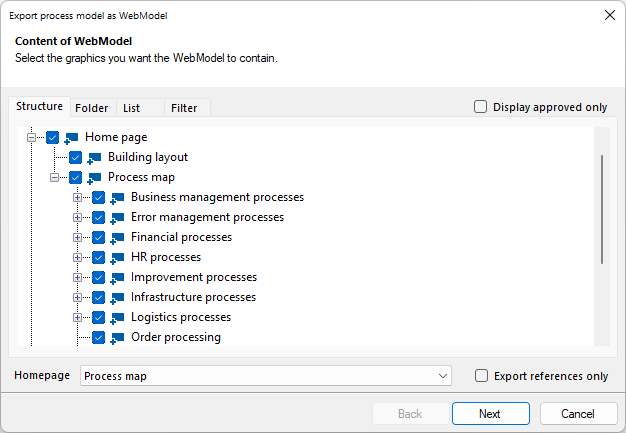 To select the content – there are four different views with Structure, Folder, List, Filter – mark the checkboxes in front of the processes.
- Open the selection menu behind Homepage. All viflow objects are listed here that have a graphic and are therefore suitable as the start page for the WebModel.
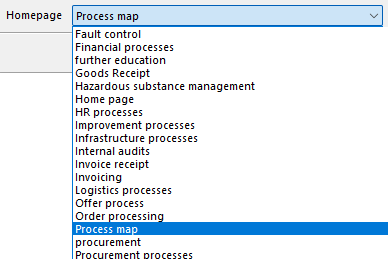 Select the graphic here that should be opened automatically when the WebModel is called.
- Check the Export references only option if you want unused objects to be excluded from the export.
 Click Next.
The User Interface Customization window opens. - Now the user interface of the WebModel can be customized:
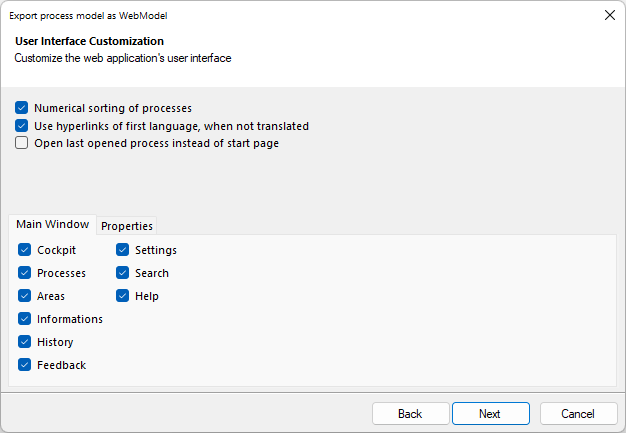 Make your selection based on the descriptions below and click Next.
-
Numerical sorting of processes(default: enabled)
Here you specify whether processes should be sorted alphabetically in the WebModel navigation. -
Use hyperlinks of first language, when not translated (default: enabled)
If hyperlinks were only maintained in the first language, these are also adopted for other languages. If you do not want this behavior, remove the check mark. -
Open last opened process instead of start page (default: enabled)
If the set start page (homepage) should always be opened when the WebModel is opened, remove the checkmark. -
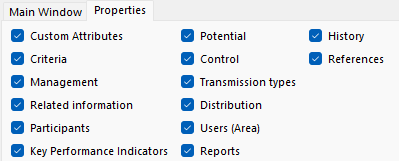
Properties (default: all enabled)
 In the Main Window tab, you determine which objects and functions are to be displayed in the WebModel.
The tabs to be displayed in the properties window of viflow objects can be selected or deselected under Properties.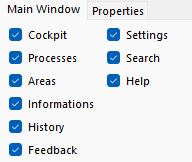 By default, all existing data is exported. If you do not need certain properties or functions in the WebModel, uncheck the corresponding checkboxes.
-
Numerical sorting of processes(default: enabled)
- In the following window you can set an accent color and the type of layout.
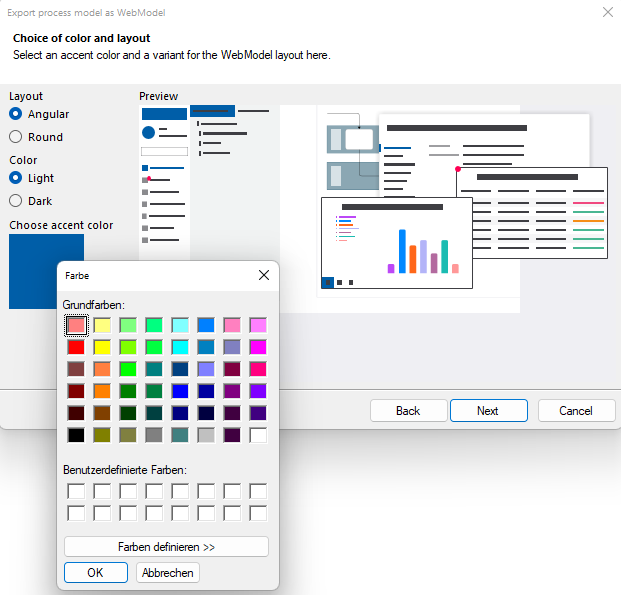 The accent color selected here is used to display the WebModel. You can also select here whether the windows in the WebModel should appear angular or rounded.In the right part of the window you can see a preview of the current settings.Example (accent color blue, layout round, light menu):
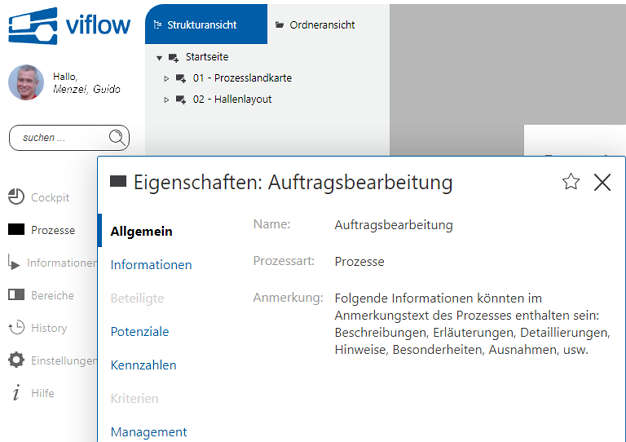 Example (accent color red, angular layout, dark menu):
 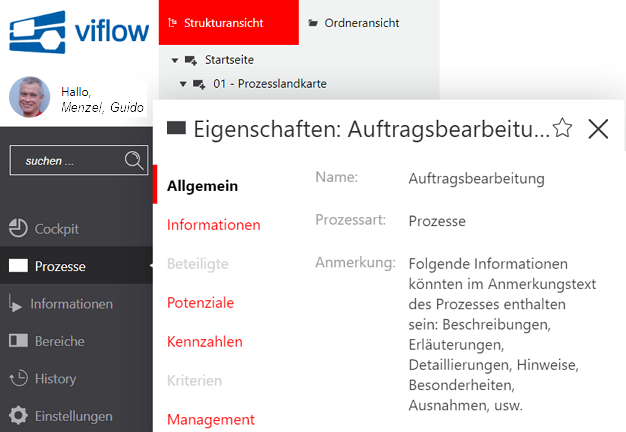 Once selected, click Next.
 - Now customize the WebModel UI:
-
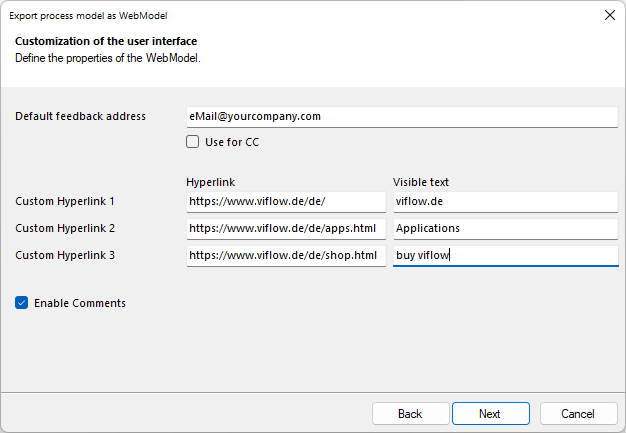
Default feedback address
An e-mail window of your default e-mail program is opened when you click the Feedback button in the WebModel. The name of the process appears in the subject line. The e-mail is addressed to the person responsible for the process (if available) or to an alternative recipient that you can enter here.
IMPORTANT! The default feedback address is only used if no process manager (tab ››› "Management") with a valid email address has been assigned to the respective process.
If the process name is not to appear in the subject line, the e-mail address and subject must be entered according to the following scheme:
E-mail address: "support@vicon.biz"
Subject line: "WebModel Feedback"
››› Input: "mailto: support@vicon.biz?subject= WebModel Feedback" -
Custom Hyperlink 1/2/3
In the WebModel header you will find the Hyperlinks button, which gives direct access to three addresses (or mailto commands). These three Internet addresses can be entered in these fields.
The label of the hyperlinks in the WebModel can be added in the Label field. -
Enable Comments
Deactivate this option if you do not want the comments to be displayed in the WebModel.
-
Default feedback address
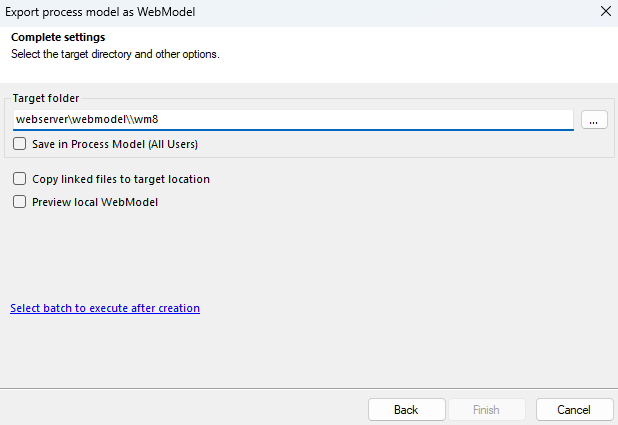
- Now enter the target directory for the WebModel:
 To do this, click the button
  , select the target directory for the WebModel and confirm with Select folder.
If necessary, change the following settings:-
Save in Process Model (All Users)
The directory path is saved in the process model file if this option is activated. The path for the export is already preset for other users as well. -
Copy linked files to target location (default: disabled)
All linked documents will be copied to a folder in the export path if a check mark is placed here. This makes it possible, for example, to view the WebModel offline and still access the linked documents (which are usually on the server). -
Preview local WebModel
If the checkmark is set, the WebModel will be opened as a preview (!) in the browser after creation. Use this option to check the WebModel before exporting it to the web server. For the export to the web server, this process (without this option) has to be executed again. -
Select batch to execute after creation (default: no batch selected)
 Click the link to specify a batch file to run after exporting the process model. With such a file (*.bat), for example, the WebModel could be automatically compressed and copied to another network drive.
Please contact your administrator to create a batch file.
-
Save in Process Model (All Users)
- Click Finish.
 You can find more information on releasing processes in the ›››
 Updating the WebModel (Re-Export)
viflow saves the export settings for each process model, so the configuration described above – including the process selection – only needs to be carried out the first time it is published.
Very easily and with just one click you can update the WebModel with the last used settings:
To do this, click on the WebModel button under File – Export – Whole Process Model.
The WebModel is exported to the last used target directory with the last used configuration.

If you want to change the configuration (e.g. because of a new process selection or a new target directory), open the selection menu by clicking on the right part of the WebModel button and select the Export custumizing current settings function.

 The Export Process Model as WebModel window opens.
Now change the settings and proceed as described above under ››› Export Process Model as WebModel (HTML output) from step 3.
Open last local WebModel
If a local preview of the WebModel has already been created, you can open it directly by clicking on this entry.
Export and Import Export Configuration
When the configuration of your WebModel is complete, you can save all individual settings in a configuration file (*.bin). Any number of configuration files can be created and the settings stored in them can be loaded.
Export Settings to File
- Click File – Export – Whole Process Model.
- Open the selection menu by clicking on the right part of the Export as WebModel button and select the Export settings to file function.
 The Save As window opens.
 - Select the storage location and file name for the configuration file and confirm with Save.
Import Settings to File
- Click File – Export – Whole Process Model.
- Open the selection menu by clicking on the right part of the WebModel button and select the Import settings from file function.
The Open window opens.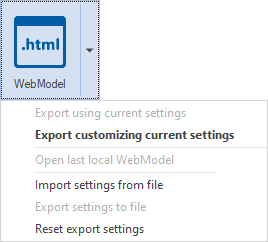
- Select the configuration file with the file extension *.bin and confirm with Open.
The configuration is loaded and is available for the next export. - To export as a WebModel, proceed as described above under ››› Export process model as WebModel (HTML output).
Reset Export Settings
- Click File – Export – Whole Process Model.
- Open the selection menu by clicking on the right part of the Export as WebModel button and select the Reset export settings function.
