Home – viflow Object
Applies to: viflow (subscription | 9 | 8) | Article: 1562495 | Updated on 12.11.2025
In the Home tab you will find the most important functions for modeling and the graphic representation of your process graphics. The register (or "ribbon") consists of different groups sorted by content, which are separated from each other by vertical lines.

Group "viflow Object"

This group contains the functions for opening and editing viflow objects.
Open
Clicking on this button opens a graphic for the currently selected object (process, information or area). It doesn't matter whether the object is marked in a window or in an existing graphic.
Select in …
To view the currently selected object in the graphic or in a window (such as the Processes window), click Select in … and then select an open graphic or window (such as the Processes window).
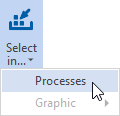 |
The process marked in the graphic is displayed or marked in the Processes window. |
 |
If the process is marked in the Processes window, it can be marked in the graphic via Select in ... Graphic . |
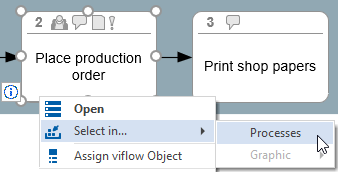 |
The same function Select in... in the context menu of the process. |
Rename
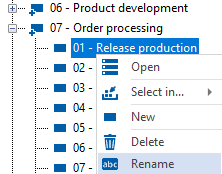
If you want to change the name of an object in a window (eg "Processes" window), select the object and click on Rename .
Alternatively, select the same function in the object's context menu.
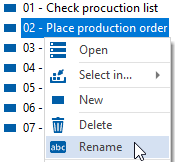
You can enter the change directly in the window.

Delete
If you select an object in a window or in a graphic and click on the Delete button, it is moved to the recycle bin.
Alternatively, select the same function in the object's context menu.
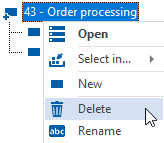
Depending on the type of object, there are different options when deleting. In the case of a process with its own graphics, for example, you can specify whether only the process itself or all sub-processes should be deleted.
You can find more information on this in the chapter ››› Deleting viflow objects.
Restore
If an object is already in the recycle bin, you can continue to use it by clicking on Restore and remove it from the recycle bin.
Properties
The properties window of objects can be opened in different ways.
|
Mark a viflow object in one of the windows or on the graphic and click on the Properties button in the Start tab. The properties window [global] of the viflow object is opened. Click the expand button and select Local Properties to open the [local] properties window. |
||
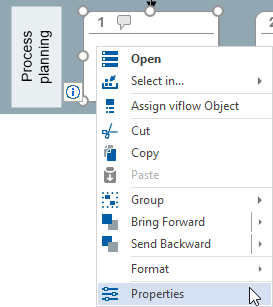 |
If you select a process in the graphic or in a window (eg "Processes" window) and select Properties, the properties windows [global] and [local] are opened. |
History
Click History to open the Process Model History window.
As long as the Process Model History window is open and active, the History tab appears, which contains the View and Model Version groups. 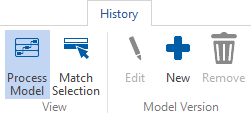
In the standard view, the history entries of the entire Process Model are displayed. If you activate Match Selection in the View group, only the history entries of a viflow object selected in a window are displayed with the various model versions.
In the Model Version group, you will find the buttons for Edit, create New and Remove history entries.
.png) ] of the respective objects or windows can be called.
] of the respective objects or windows can be called.